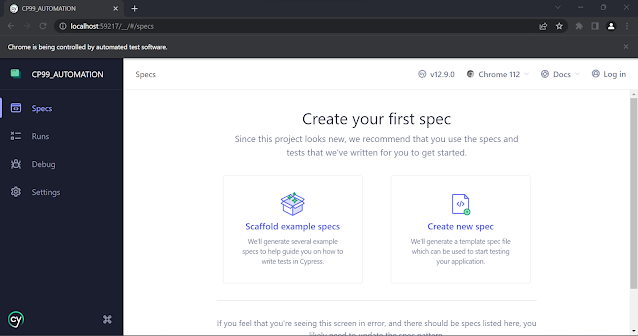
Steps to follow for creating a new Cypress Automation E2E project in Visual Studio Code IDE:
1. Create an empty folder (say CP99_AUTOMATION) in any desired location.
2. Launch Visual Studio Code and go to Open Folder > Select that desired folder that is created [CP99_AUTOMATION].
3. Create the package.json file using a terminal:
Open Terminal > Click on New Terminal and type the below command
Enter details as per your needs like the package name, description, and so on, as mentioned in the image given below:
Once type 'Yes', the package.json file
gets created within the project folder with the information we have provided.
File Structure - package.json
4. Install Cypress on your Project.
npm install
cypress
Now, we have completed the Cypress installation. We can launch Cypress Test Runner with the below-mentioned command:
node_modules/.bin/cypress open
npx cypress open
It will take some time to launch the Test Runner window for the first time, so be patient. Once, it launches then we could see the project folder structure along with test files has been provided by Cypress under the examples folder.
Select 'E2E Testing' > Click on Continue
Choose browser as per your need 'Chrome' [selected in the example]
Select Scaffold Example to see examples
Then the Test Runner should have some spec files available under the e2e folder, as illustrated below:
To execute the tests, just click on any one spec file.
For example, action.cy.js
once all tests have been executed then we got the results in the left side in test runner


No comments:
Post a Comment